DIY Smart Security
Creating your own smart home security system is easier than you might think. With the right tools and techniques, you can safeguard your home effectively without breaking the bank. This guide will walk you through step-by-step instructions on how to set up your own DIY smart security system, including the essential components to consider.
Key Takeaways
- Understand the components required for a DIY smart security system.
- Learn the installation process for various devices.
- Explore tips to enhance your system's effectiveness.
- Discover how to integrate different smart devices for seamless operation.
What is a DIY Smart Security System?
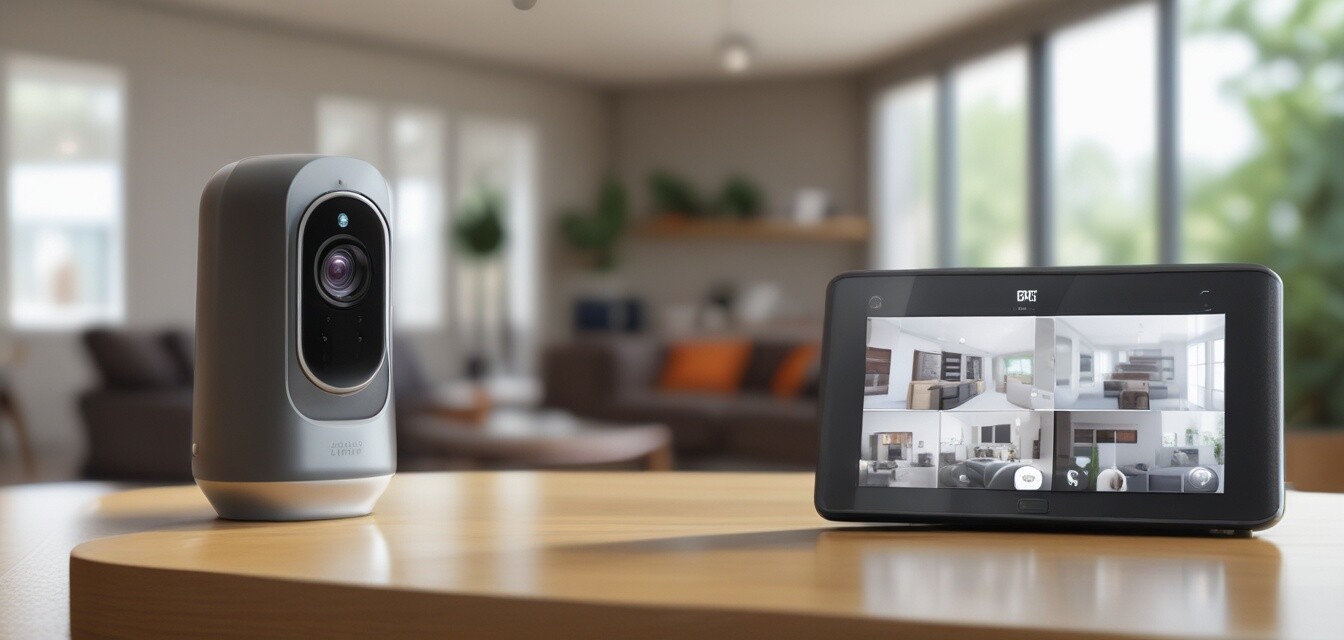
A DIY smart security system comprises various interconnected devices designed to monitor and protect your home. These systems typically include security cameras, sensors, alarm systems, and smart lighting that you can control via a smartphone app or home automation hub.
Essential Components of a DIY Smart Security System
Before diving into the installation process, let's look at the essential components you'll need:
| Component | Description | Purpose |
|---|---|---|
| Security Cameras | Devices that capture video footage of your property. | Monitor activity and deter intruders. |
| Smart Sensors | Devices that detect motion, doors opening, or windows breaking. | Provide alerts for unauthorized access. |
| Automated Alarm Systems | Systems that trigger an alarm in case of intrusion. | Notify you and deter intruders. |
| Smart Lighting | Lighting that can be controlled remotely and set on schedules. | Enhance visibility and deter intruders. |
| Home Automation Hub | A central device that connects all your smart devices. | Allows for seamless control and automation. |
Step-by-Step Guide to Setting Up Your DIY Smart Security System
Step 1: Plan Your Security Layout
Before purchasing any equipment, plan where you will place your cameras, sensors, and lights. Consider entry points, high-traffic areas, and blind spots. Create a basic sketch of your home layout.
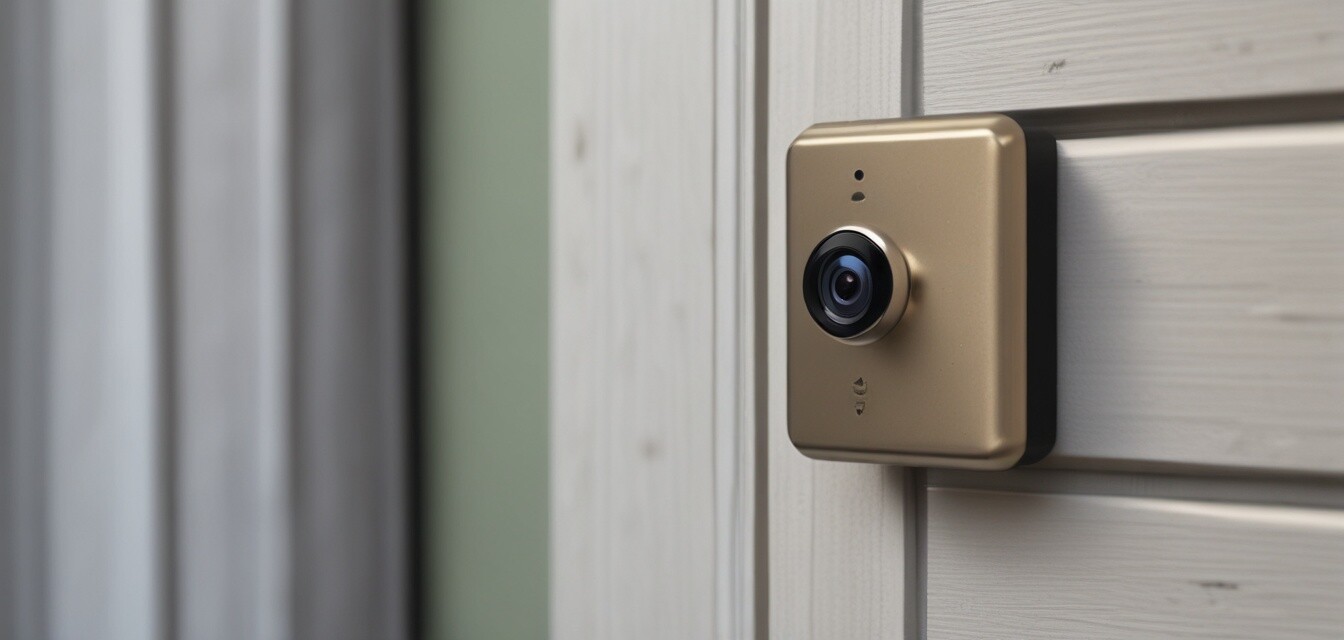
Step 2: Choose Your Security Cameras
Choose the right security cameras based on your needs. Consider factors such as:
- Indoor vs. outdoor usage
- Wired vs. wireless
- Resolution and night vision capabilities
For more information on security cameras, check out our detailed guide on Security Cameras.
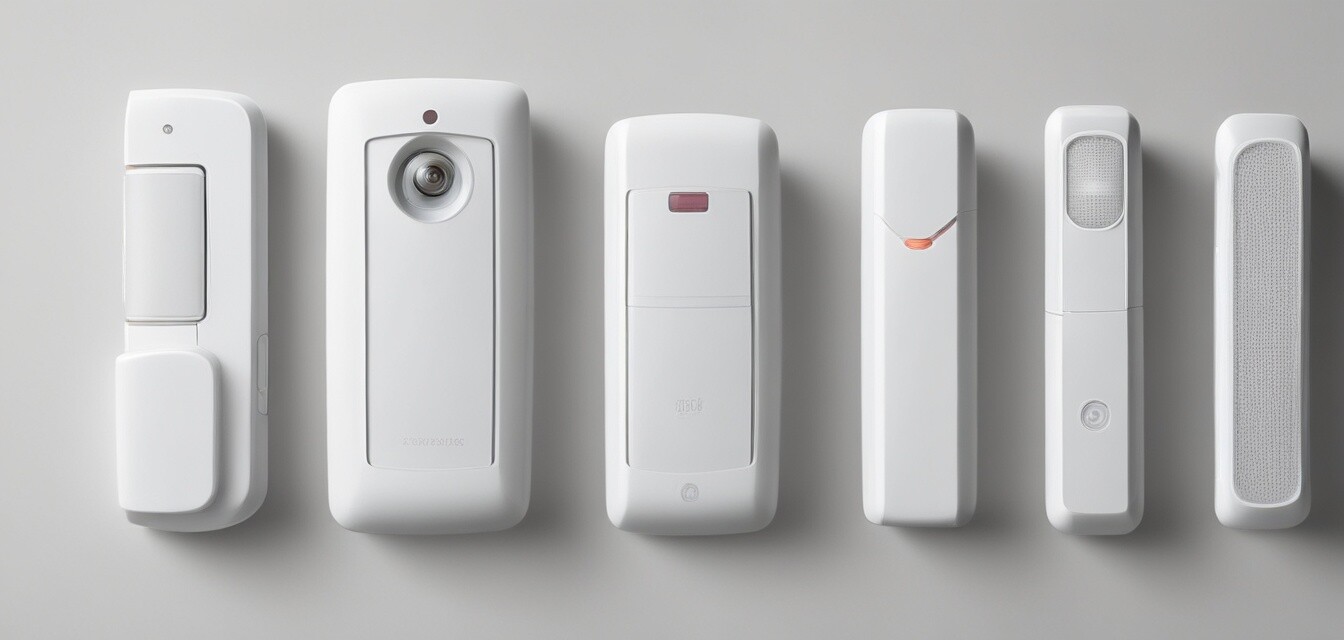
Step 3: Install Smart Sensors
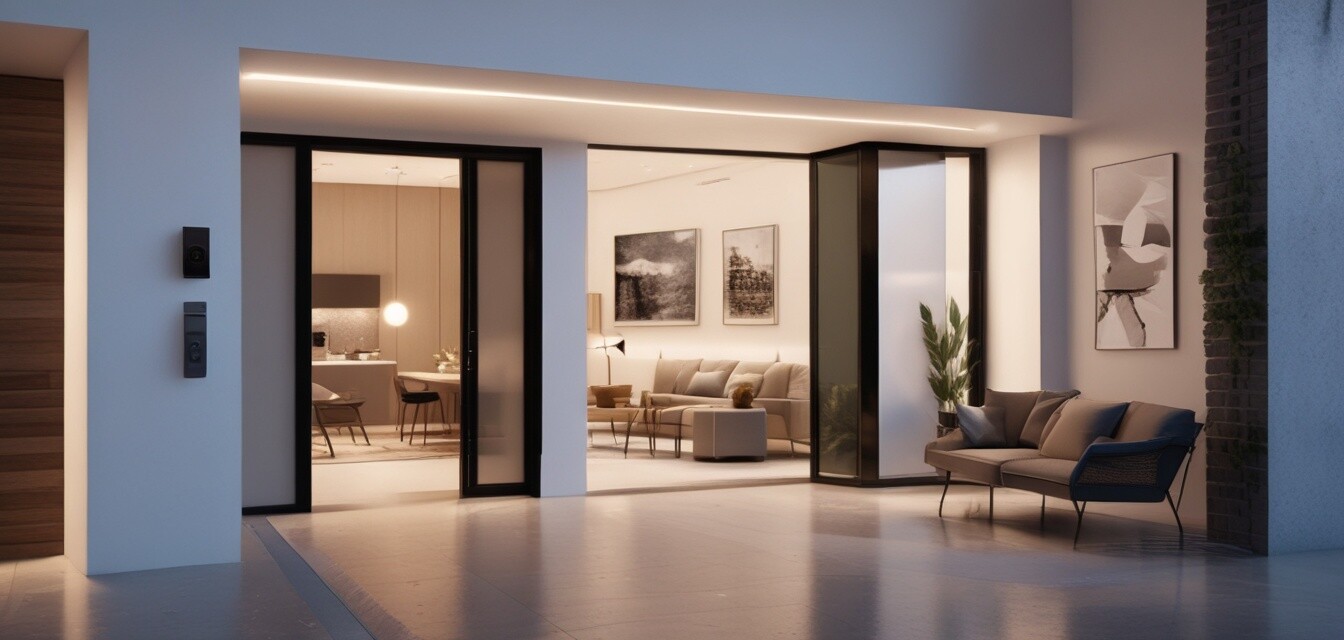
Smart sensors should be placed at entry points, such as doors and windows. Follow the manufacturer's instructions for installation. Ensure they are connected to your home automation hub.
Step 4: Set Up Your Automated Alarm System
Automated alarm systems can be set up to trigger alerts based on sensor activation. Customize the settings through your app to suit your needs. Make sure to test the system to ensure it works effectively.
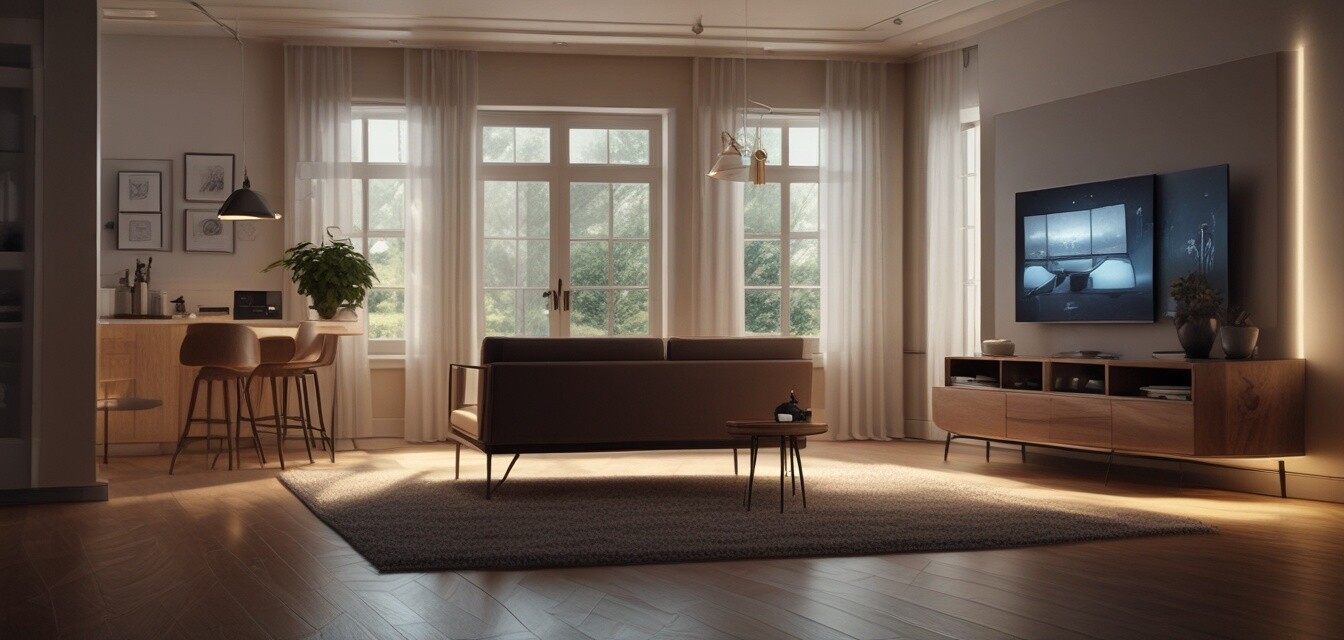
Step 5: Integrate Smart Lighting
Install smart lighting in strategic locations to enhance visibility. Program the lights to turn on automatically when sensors are triggered. This can deter intruders and provide peace of mind.
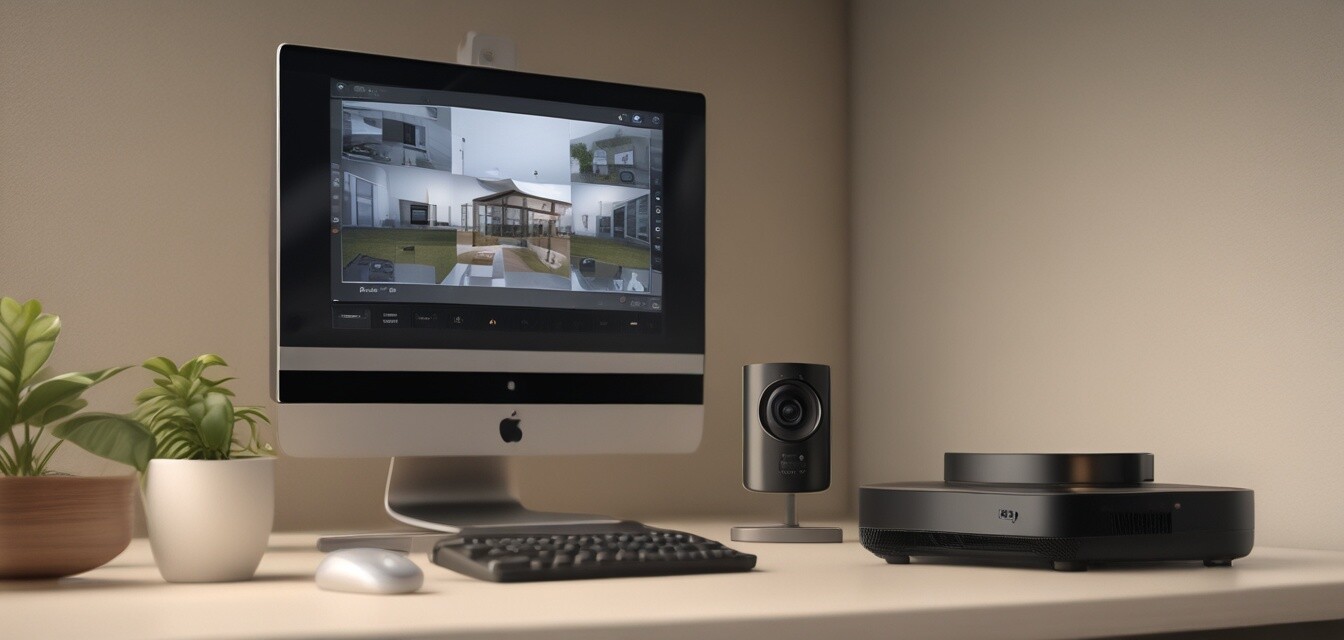
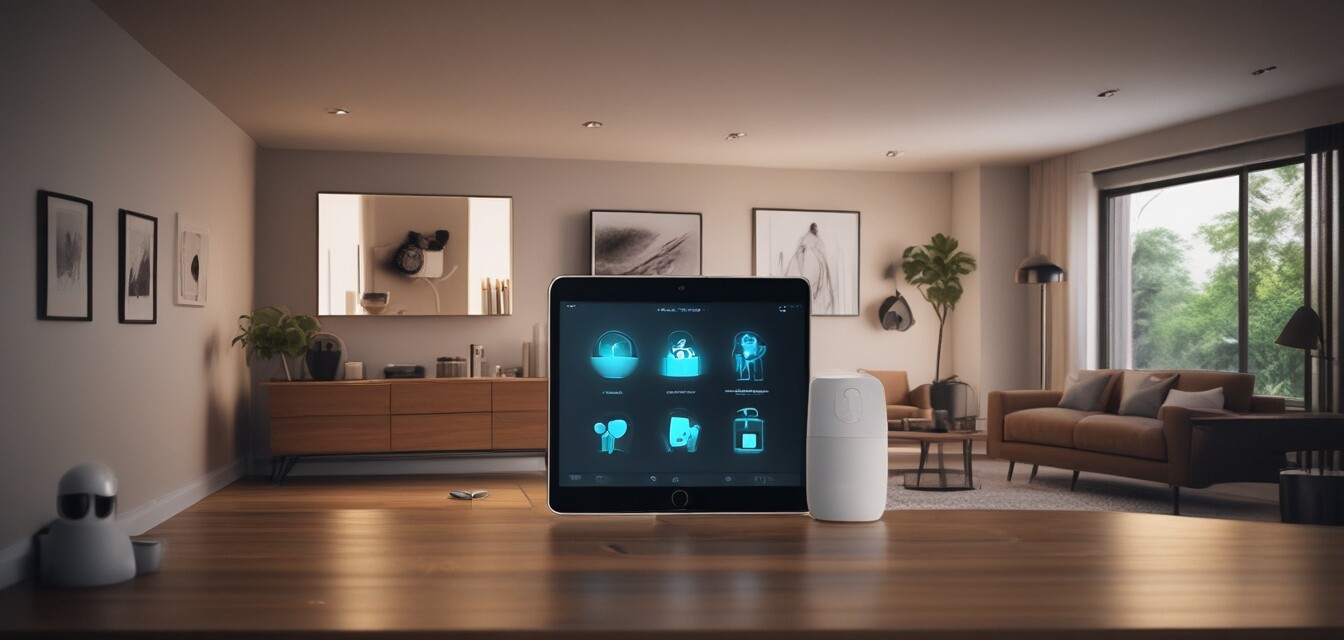
Step 6: Connect Everything to Your Home Automation Hub
Once all devices are installed, connect them to your home automation hub. This will allow for centralized control and monitoring. Ensure that your devices are compatible with the hub.
Enhancing Your DIY Smart Security System
Once your system is set up, consider these tips to enhance its effectiveness:
Tips for Beginners
- Regularly update your device firmware to ensure security.
- Change default passwords to prevent unauthorized access.
- Test your system periodically to ensure all devices are functioning.
- Consider adding backup power solutions for critical devices.
- Utilize mobile alerts to stay informed about your home's status.
Conclusion
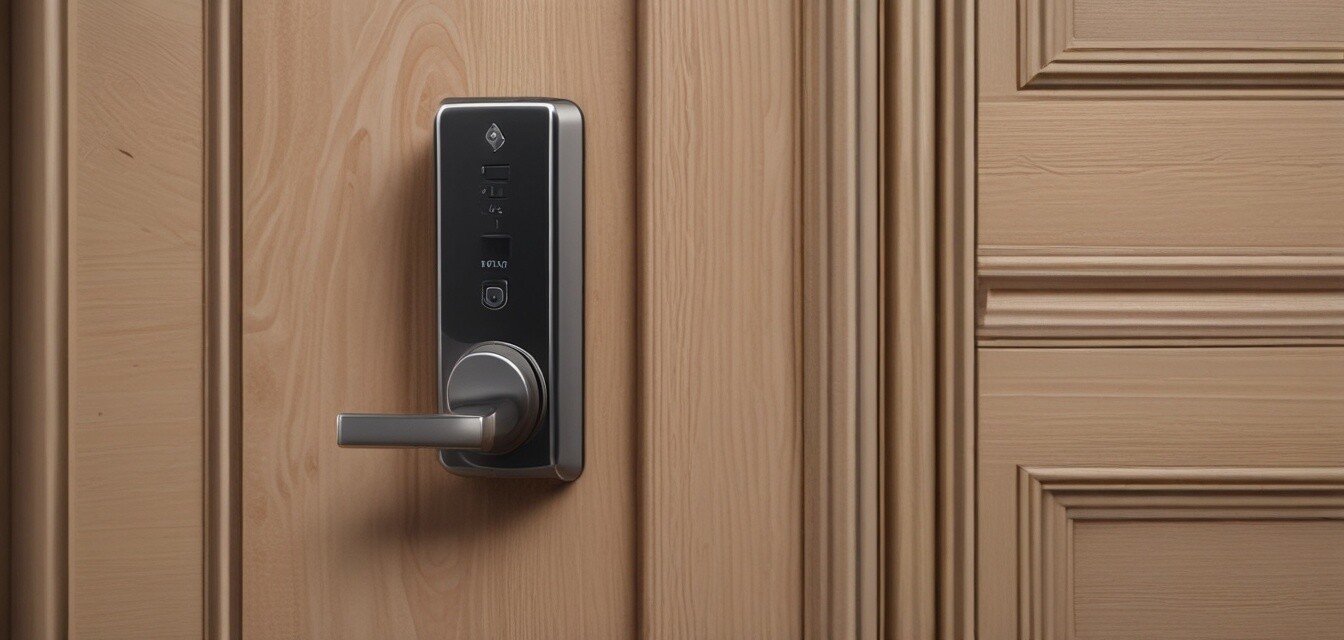
Creating a DIY smart security system can provide you with peace of mind knowing that your home is protected. By using the right components and following the steps outlined in this guide, you can design a system tailored to your needs. For more information on other smart home products, explore our categories on Access Control Systems, Automated Alarm Systems, and Home Automation Hubs.
Pros
- Cost-effective compared to professional installation.
- Full control over your home security setup.
- Customizable based on individual needs.
Cons
- Time-consuming installation process.
- Requires technical knowledge for setup and troubleshooting.
- Potential compatibility issues between devices.
Final Thoughts
A DIY smart security system is an excellent way to take charge of your home’s safety. As technology continues to evolve, so do the options available for securing your space. With careful planning, the right equipment, and regular maintenance, you can create a reliable security system that meets your needs. For further insights, explore our resources on Smart Lighting for Security and Smart Sensors.